Stable Diffusion prompt advanced
If you want to use the workflow from this chapter, you can either download and use the Comflowy local version or sign up and use the Comflowy cloud version (opens in a new tab), both of which have the chapter's workflow built-in. Additionally, if you're using the cloud version, you can directly use our built-in models without needing to download anything.
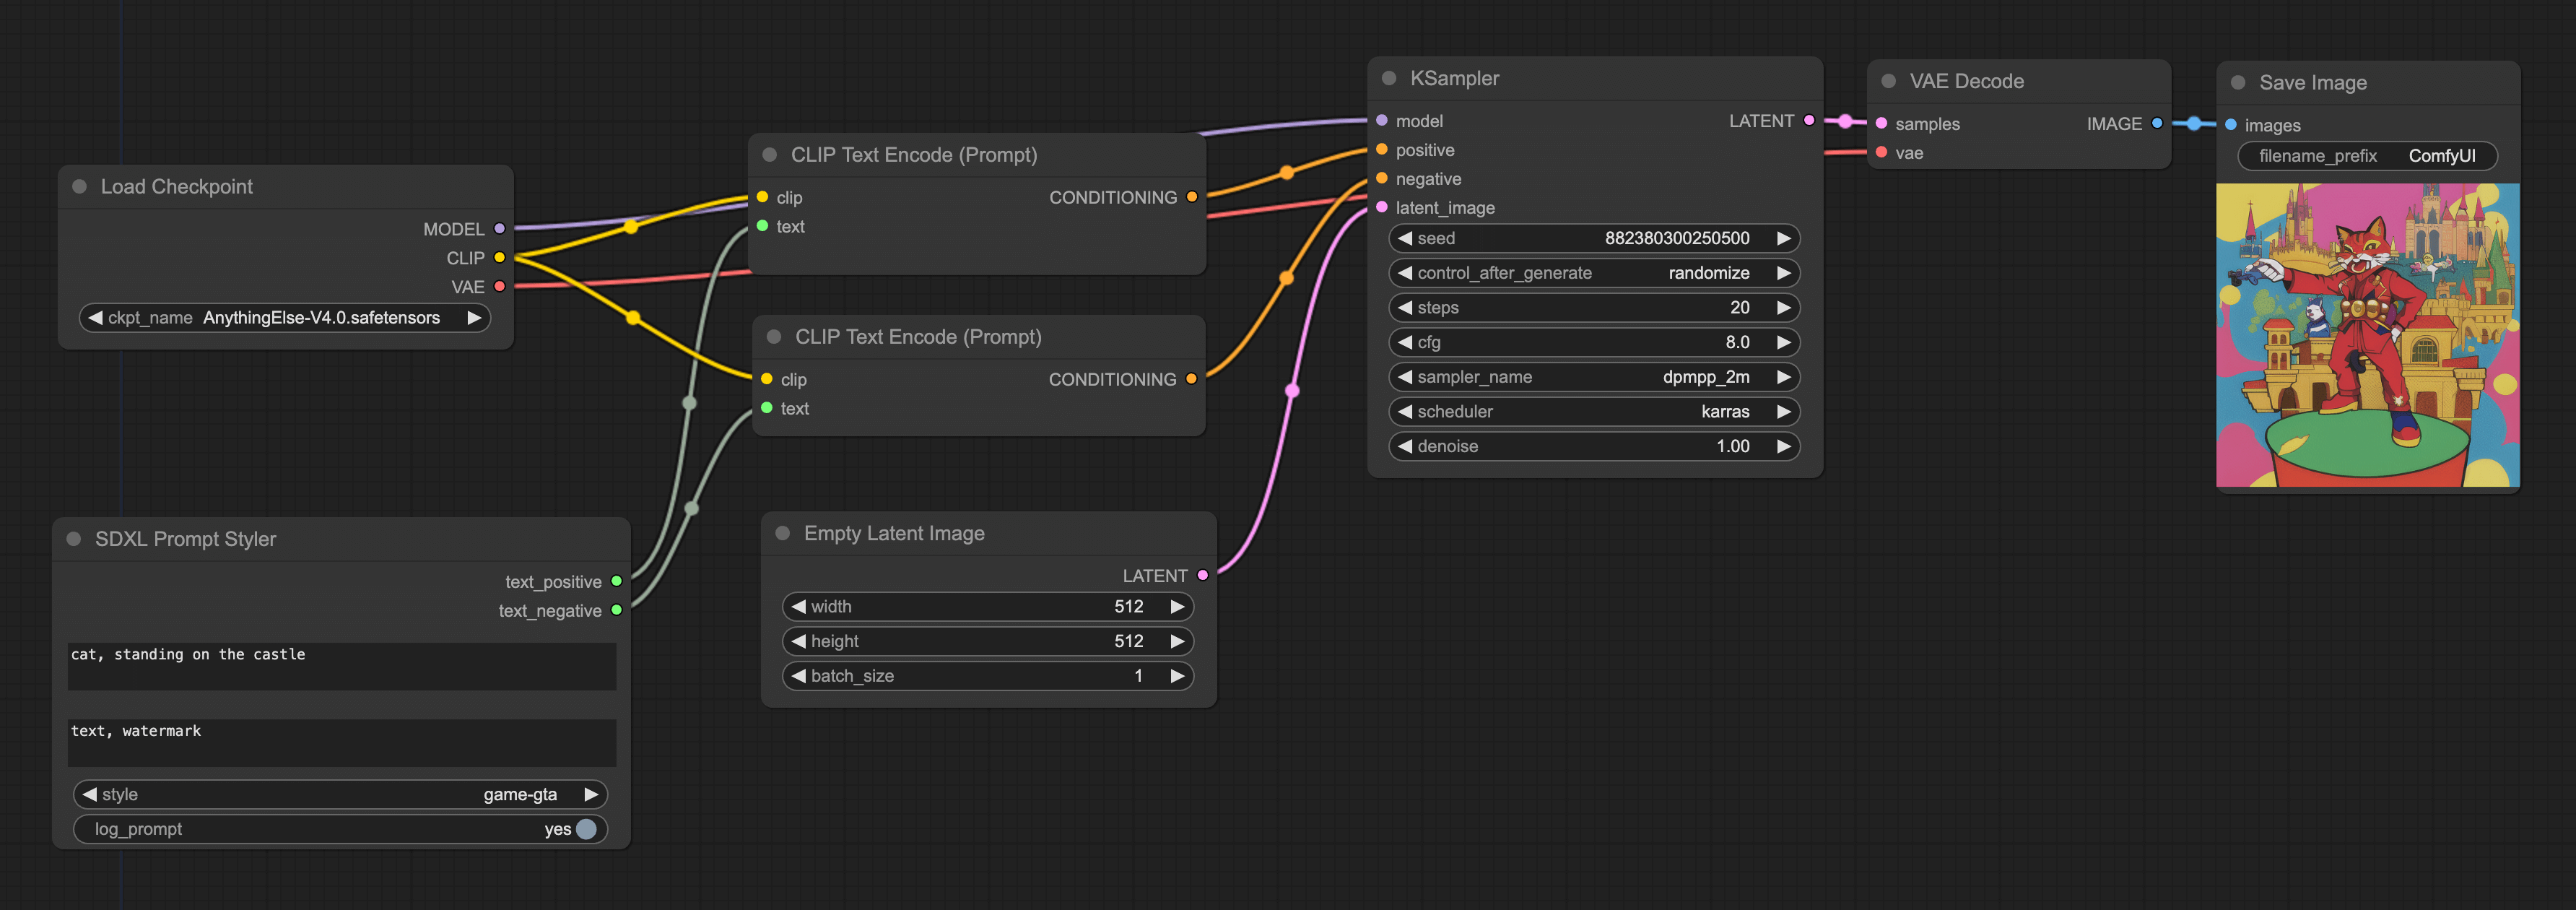
SDXL Prompt Styler Workflow
You might have used some products based on Stable Diffusion that offer an additional "Style" option compared to Midjourney. This option is used to adjust the image style. With this feature, there's no need to write the style in the prompt anymore.
So, can this be achieved in ComfyUI? The answer is yes.
We can use a plugin called SDXL prompt styler to accomplish this. Here are the steps.
Download & Install SDXL Prompt Styler Plugin
First, you need to download and install the plugin. We'll use the ComfyUI Manager to help us with this operation. If you haven't installed ComfyUI Manager, you can check the installing plugins article. Click the Manager button on the right panel, then in the popup window, click the "Install custom nodes" button. In the appearing window, search for "SDXL prompt styler" and click the "Install" button to install it.
Note, after installation, you need to click the restart button to reboot ComfyUI. If you proceed to the next step and don't find the "SDXL prompt styler" node even though you've restarted ComfyUI, please refresh the page.
Load Default Workflow
Click the Load Default button on the right panel to load the default workflow.
Add SDXL Prompt Styler Node
Next, right-click -> Add Node -> Utils -> SDXL prompt styler to add this node. After adding, you'll see this node allows for inputting positive and negative text. These are actually prompt input fields. Below that, there's a style option; click it to see various styles and choose according to your needs.
Connect Nodes
Connecting these nodes is slightly complex.
- Right-click on the CLIP Text Encode(Prompt) node connected to the KSampler positive endpoint.
- Then click Convert text to input from the menu. The input field of the CLIP Text Encode(Prompt) node will disappear, and a text endpoint will appear on the left side.
- At this point, connect this endpoint to the positive text endpoint of the SDXL prompt styler node.
- Repeat the above steps for another CLIP Text Encode(Prompt) node.
The workflow after connecting looks like this: