Installing ComfyUI
If you find the installation process too complicated, or if you tried installing but failed, yet still want to use ComfyUI, I suggest using our cloud version (opens in a new tab). Simply register to start using it.
There are currently two methods for installing ComfyUI; you can choose one based on your needs:
- Install on local: Install ComfyUI on your own computer, so you can run ComfyUI locally. This way is almost cost-free. But if your computer's GPU configuration is relatively poor, the speed of generating images can be slower.
- Install in the cloud: Install ComfyUI in the cloud. The advantage of this is that the cloud configuration is relatively high, the speed of image generation will be faster, but it requires a certain cost.
This section will primarily discuss how to install ComfyUI locally. If you want to install in the cloud, you can jump to cloud installation.
Local installation method
Command Line Installation
There are two methods for local installation. The first method is the most universal — command line installation, which also tends to have a lower probability of issues upon subsequent use. However, there may be a certain threshold for users not familiar with command lines and code. Therefore, this tutorial mainly introduces this method. If you encounter any problems during the installation, you are welcome to join our Discord (opens in a new tab) group for a discussion, where we will try our best to help you.
Additionally, the source code for ComfyUI can be found here (opens in a new tab), and the installation instructions are included in the Readme. You can also operate according to the Readme document, and it's not mandatory to follow my tutorial.
Package Installation
The second method is package installation. This method is relatively simple to install, download and use, at present, I recommend two packages:
① Official package of ComfyUI: Please note that it currently only supports Windows system, and the graphics card must be Nvidia. The download link is here (opens in a new tab), you only need to download the latest version, and you can use it after decompressing.
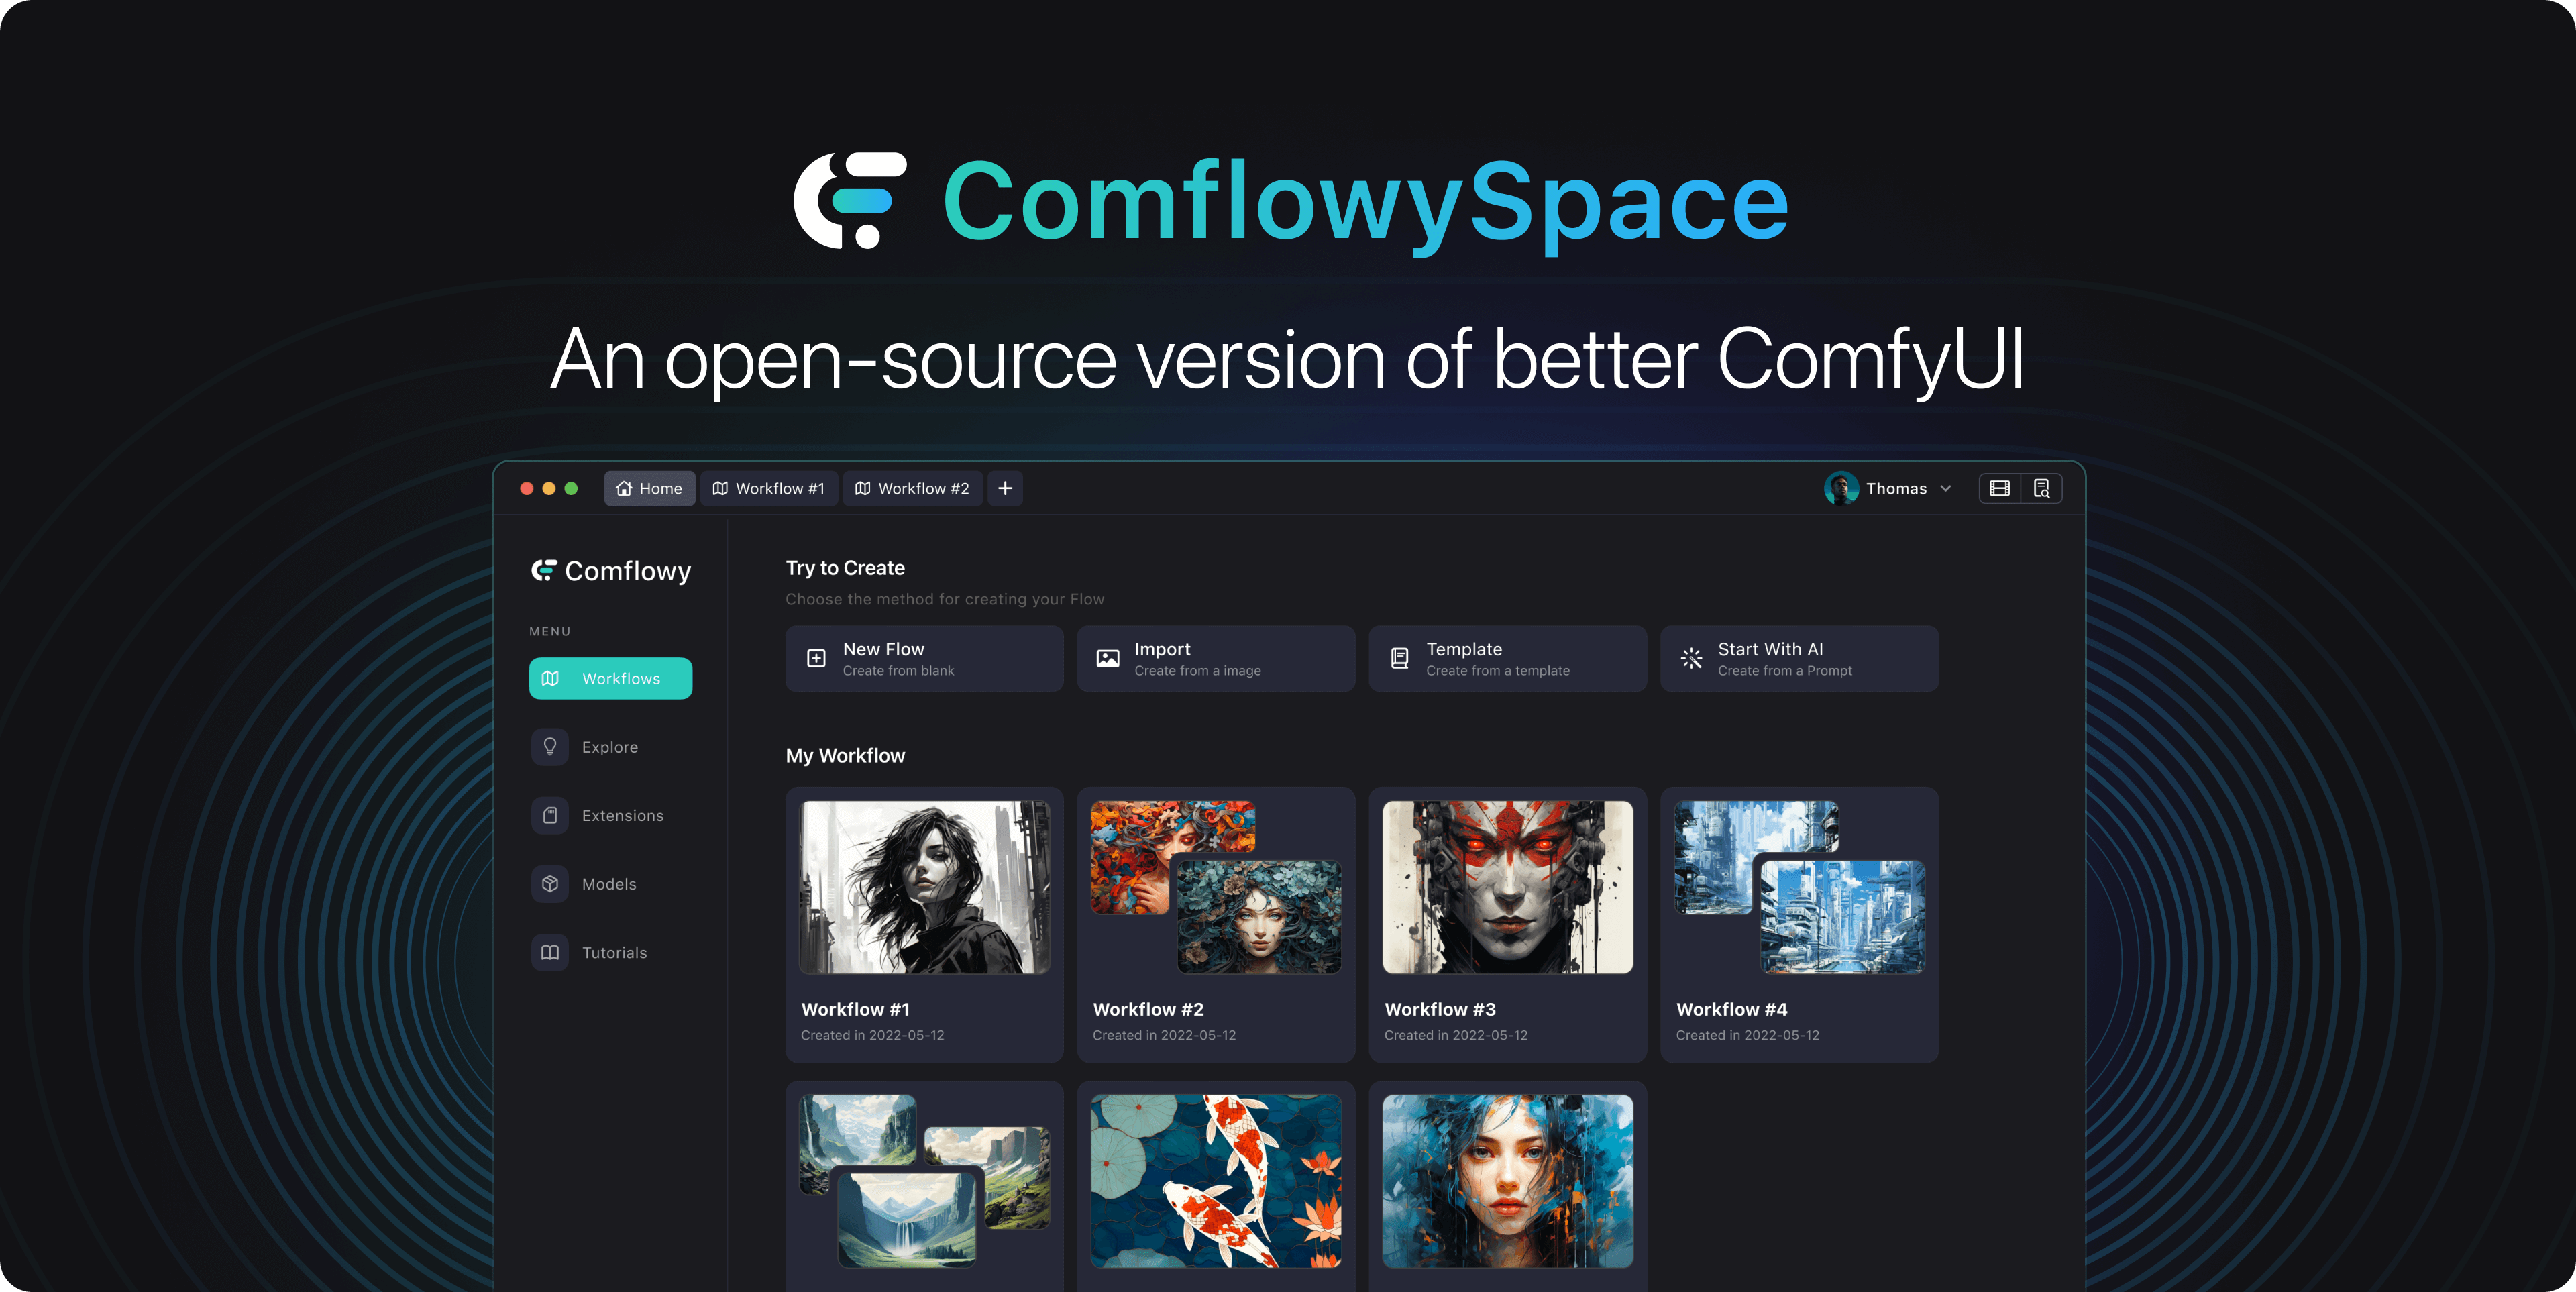
② Comflowy Local Version: Compared to the ComfyUI package, I recommend you install our newly developed open-source ComfyUI product, ComflowySpace 😎. This is a product based on the secondary development of ComfyUI, and its usage function is consistent with ComfyUI. But we have made a lot of optimizations:
- Support for Mac system.
- Support for template functions not available in ComfyUI, allowing one-click use of all templates provided in this tutorial.
- Optimized many experience issues with ComfyUI, making it more convenient and simple to use. For a full introduction, you can check here, as well as the differences between Comflowy and ComfyUI are detailed in this article.
Welcome everyone to download and use it. The download link is here (opens in a new tab).
Command line installation steps
Step one, install Pytorch
If you have already installed SD WebUI, then you can skip to the second step.
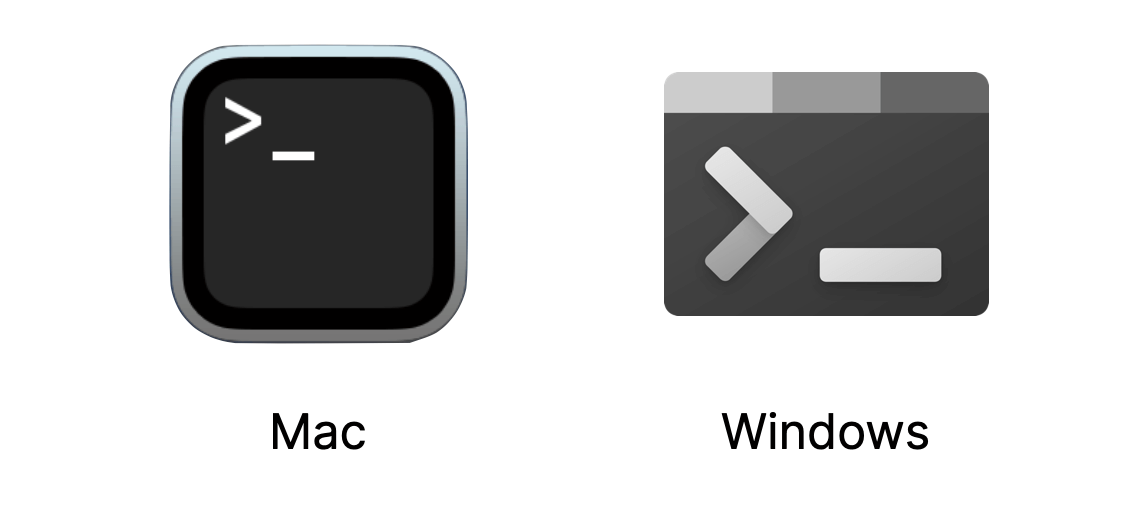
First, you need to open the system Terminal, which can generally be found through a system search.
It looks like this on Mac and Windows. Due to different versions, it may look different on Windows from my screenshot. As long as the name is right, it's fine:
Then open the Terminal. Regardless of the system, you should see a similar interface. The UI color may be different, but there should be a line of characters followed by a blinking cursor:
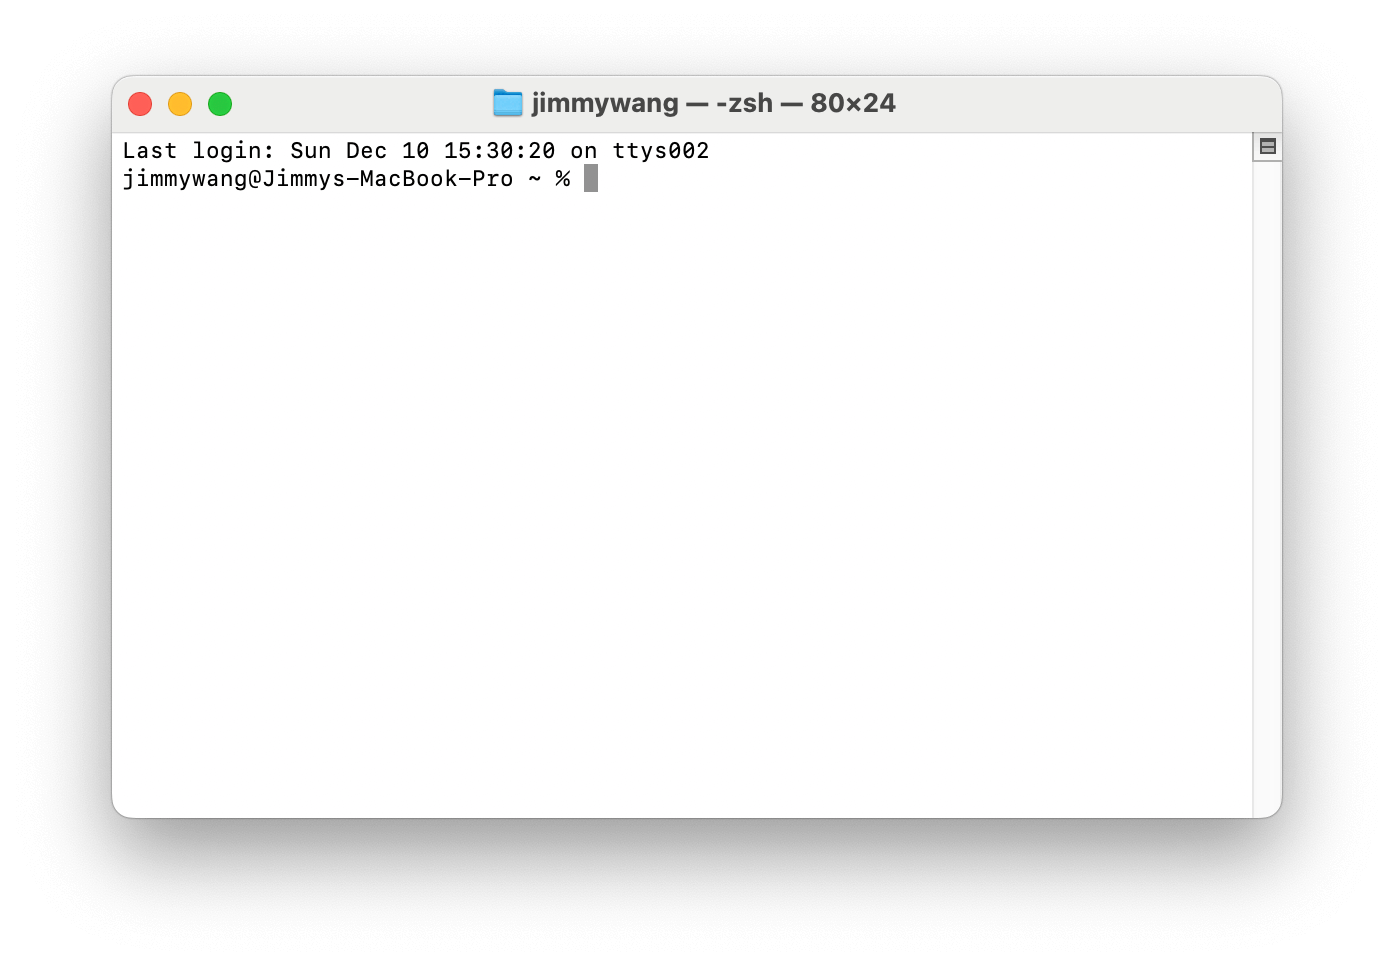
At this point, different systems will require different commands.
For Windows users, I recommend you use a computer with an NVIDIA graphics card.
Download Miniconda3
Enter the command below at first:
curl https://repo.anaconda.com/miniconda/Miniconda3-latest-Windows-x86_64.exe -o miniconda.exeInstall Miniconda3
After the download is complete, continue to enter the following code to install Miniconda3:
start /wait "" miniconda.exe /SInstall Pytorch
Install the nightly version of Pytorch. Enter the following command:
pip install --pre torch torchvision torchaudio --index-url https://download.pytorch.org/whl/nightly/cu121Step two, download ComfyUI
This step requires you to pull the ComfyUI code locally. If you are comfortable with Git, run the following code in the Terminal to complete this step:
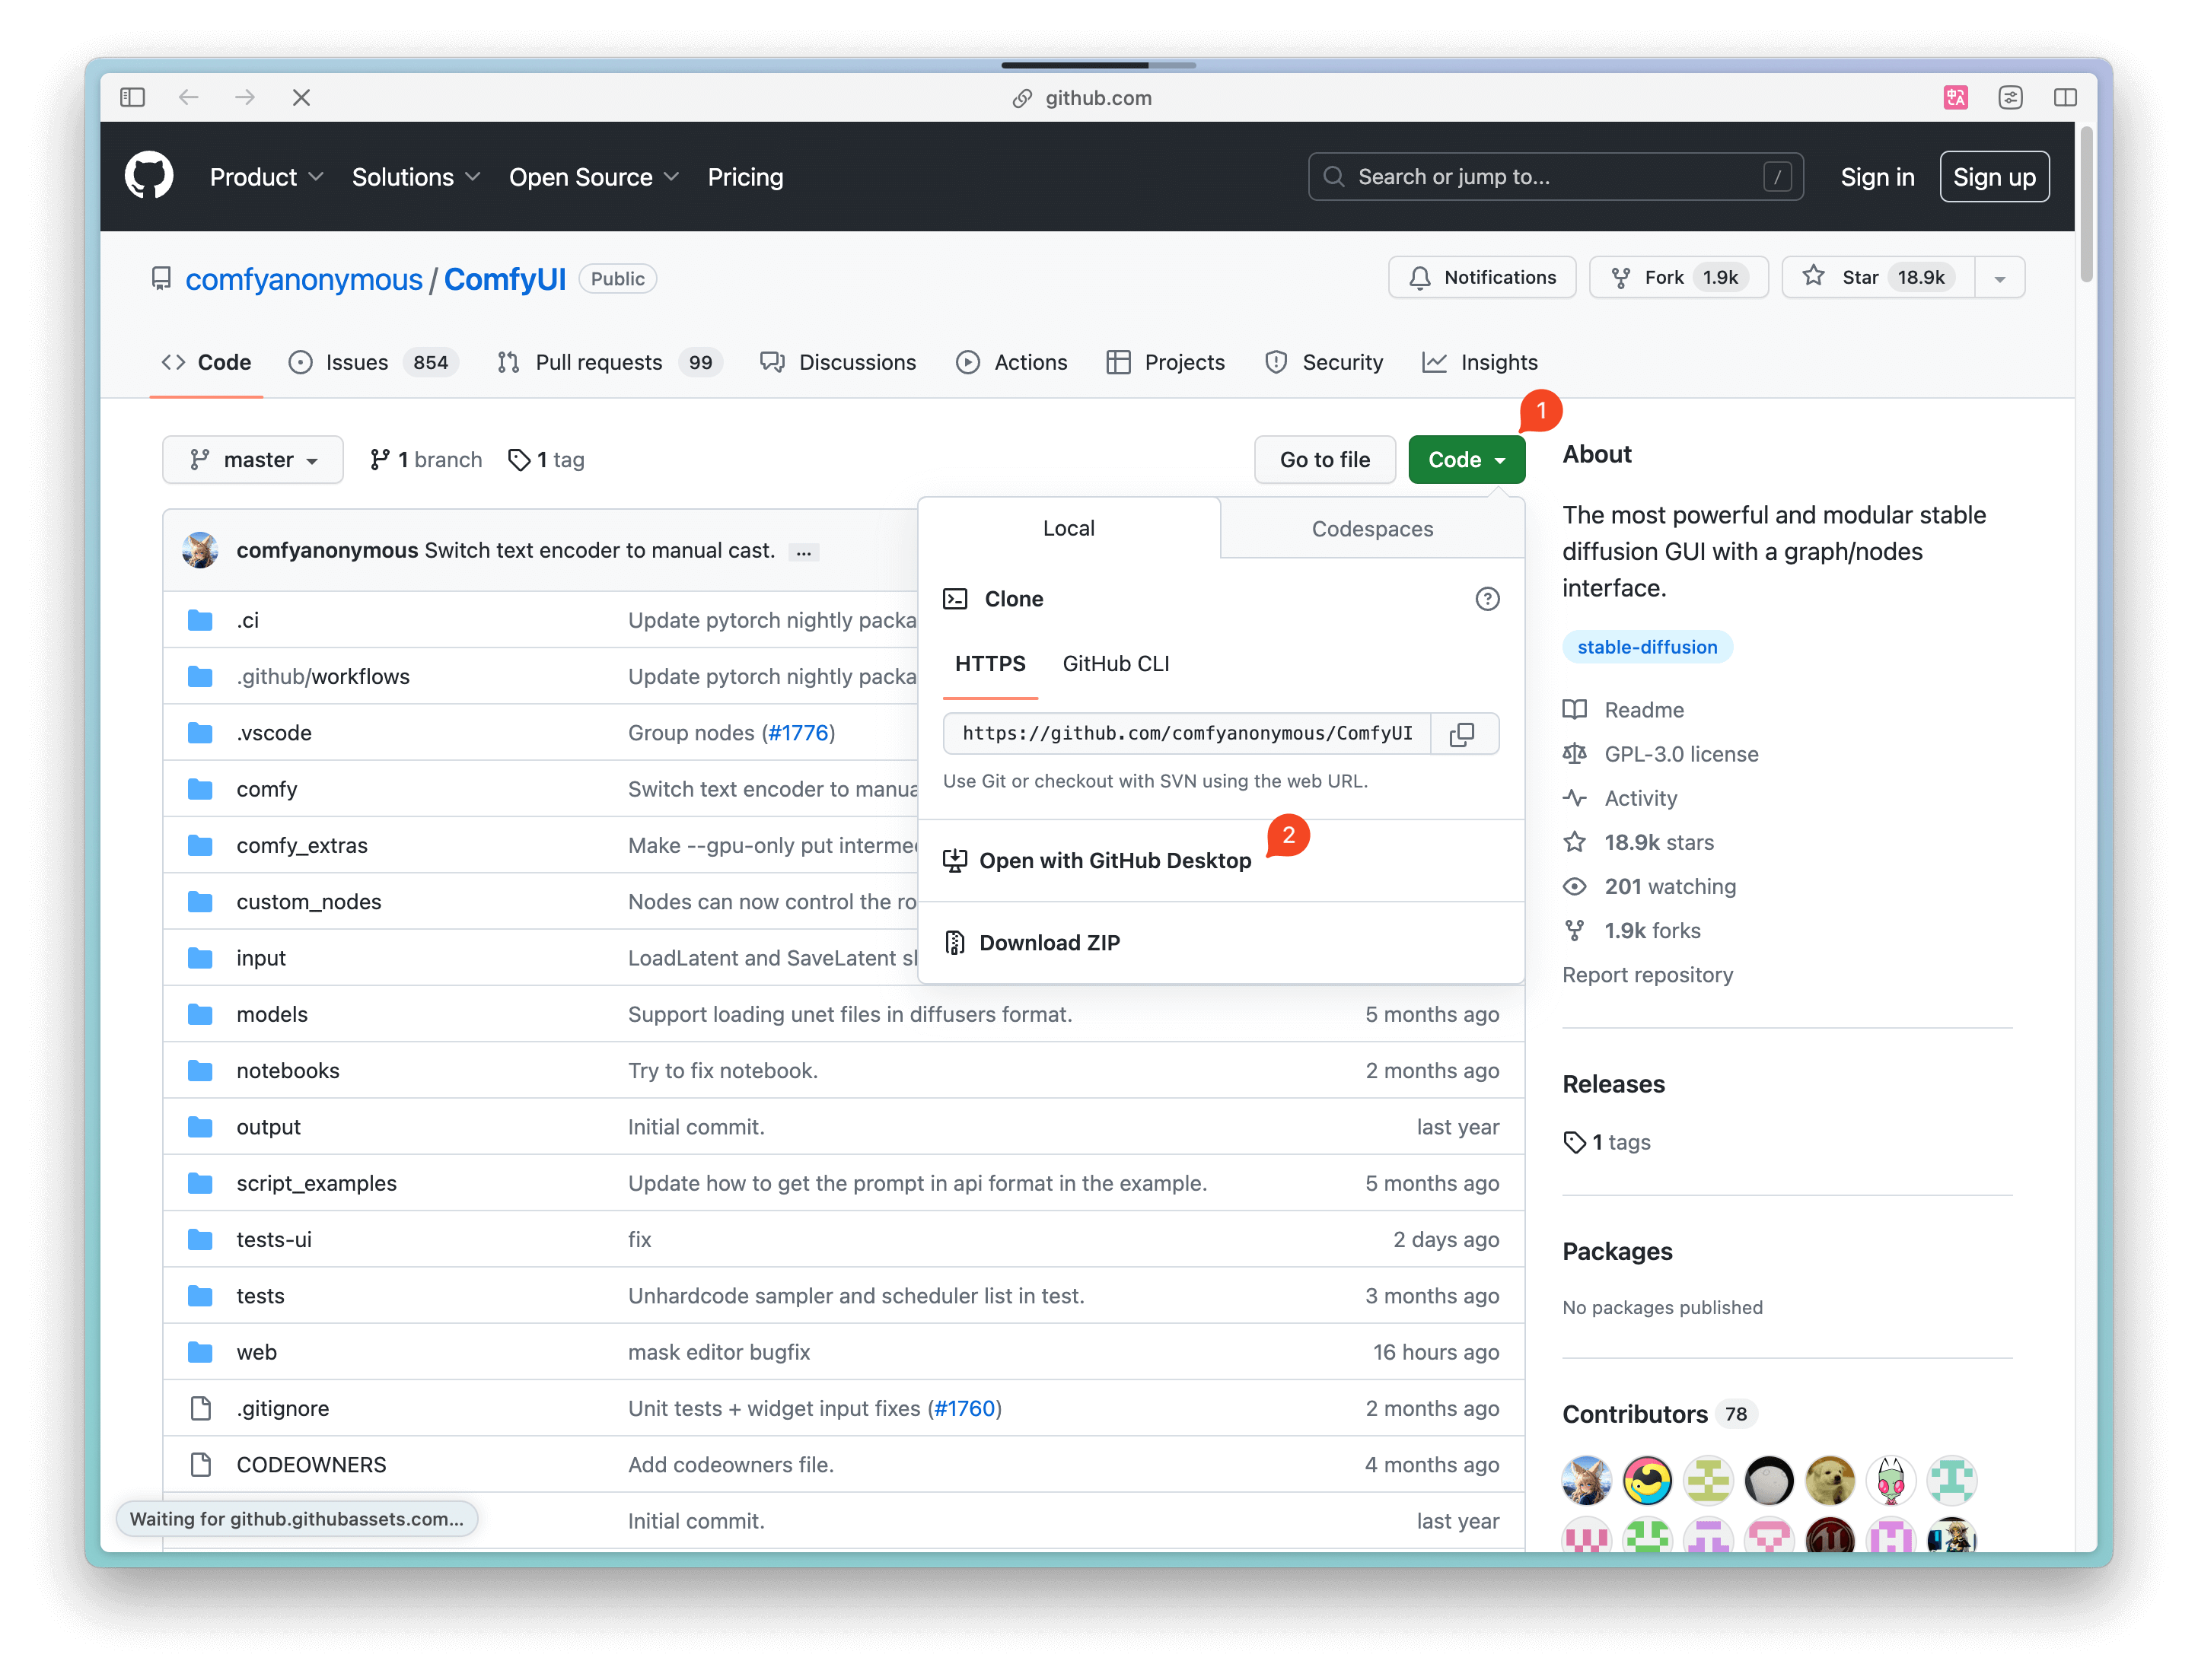
git clone https://github.com/comfyanonymous/ComfyUIIf you're not familiar with Git, I recommend using the Github Desktop (opens in a new tab) to pull the code, it's a simpler way.
Download and install Github Desktop
After downloading and installing Github Desktop, open this application.
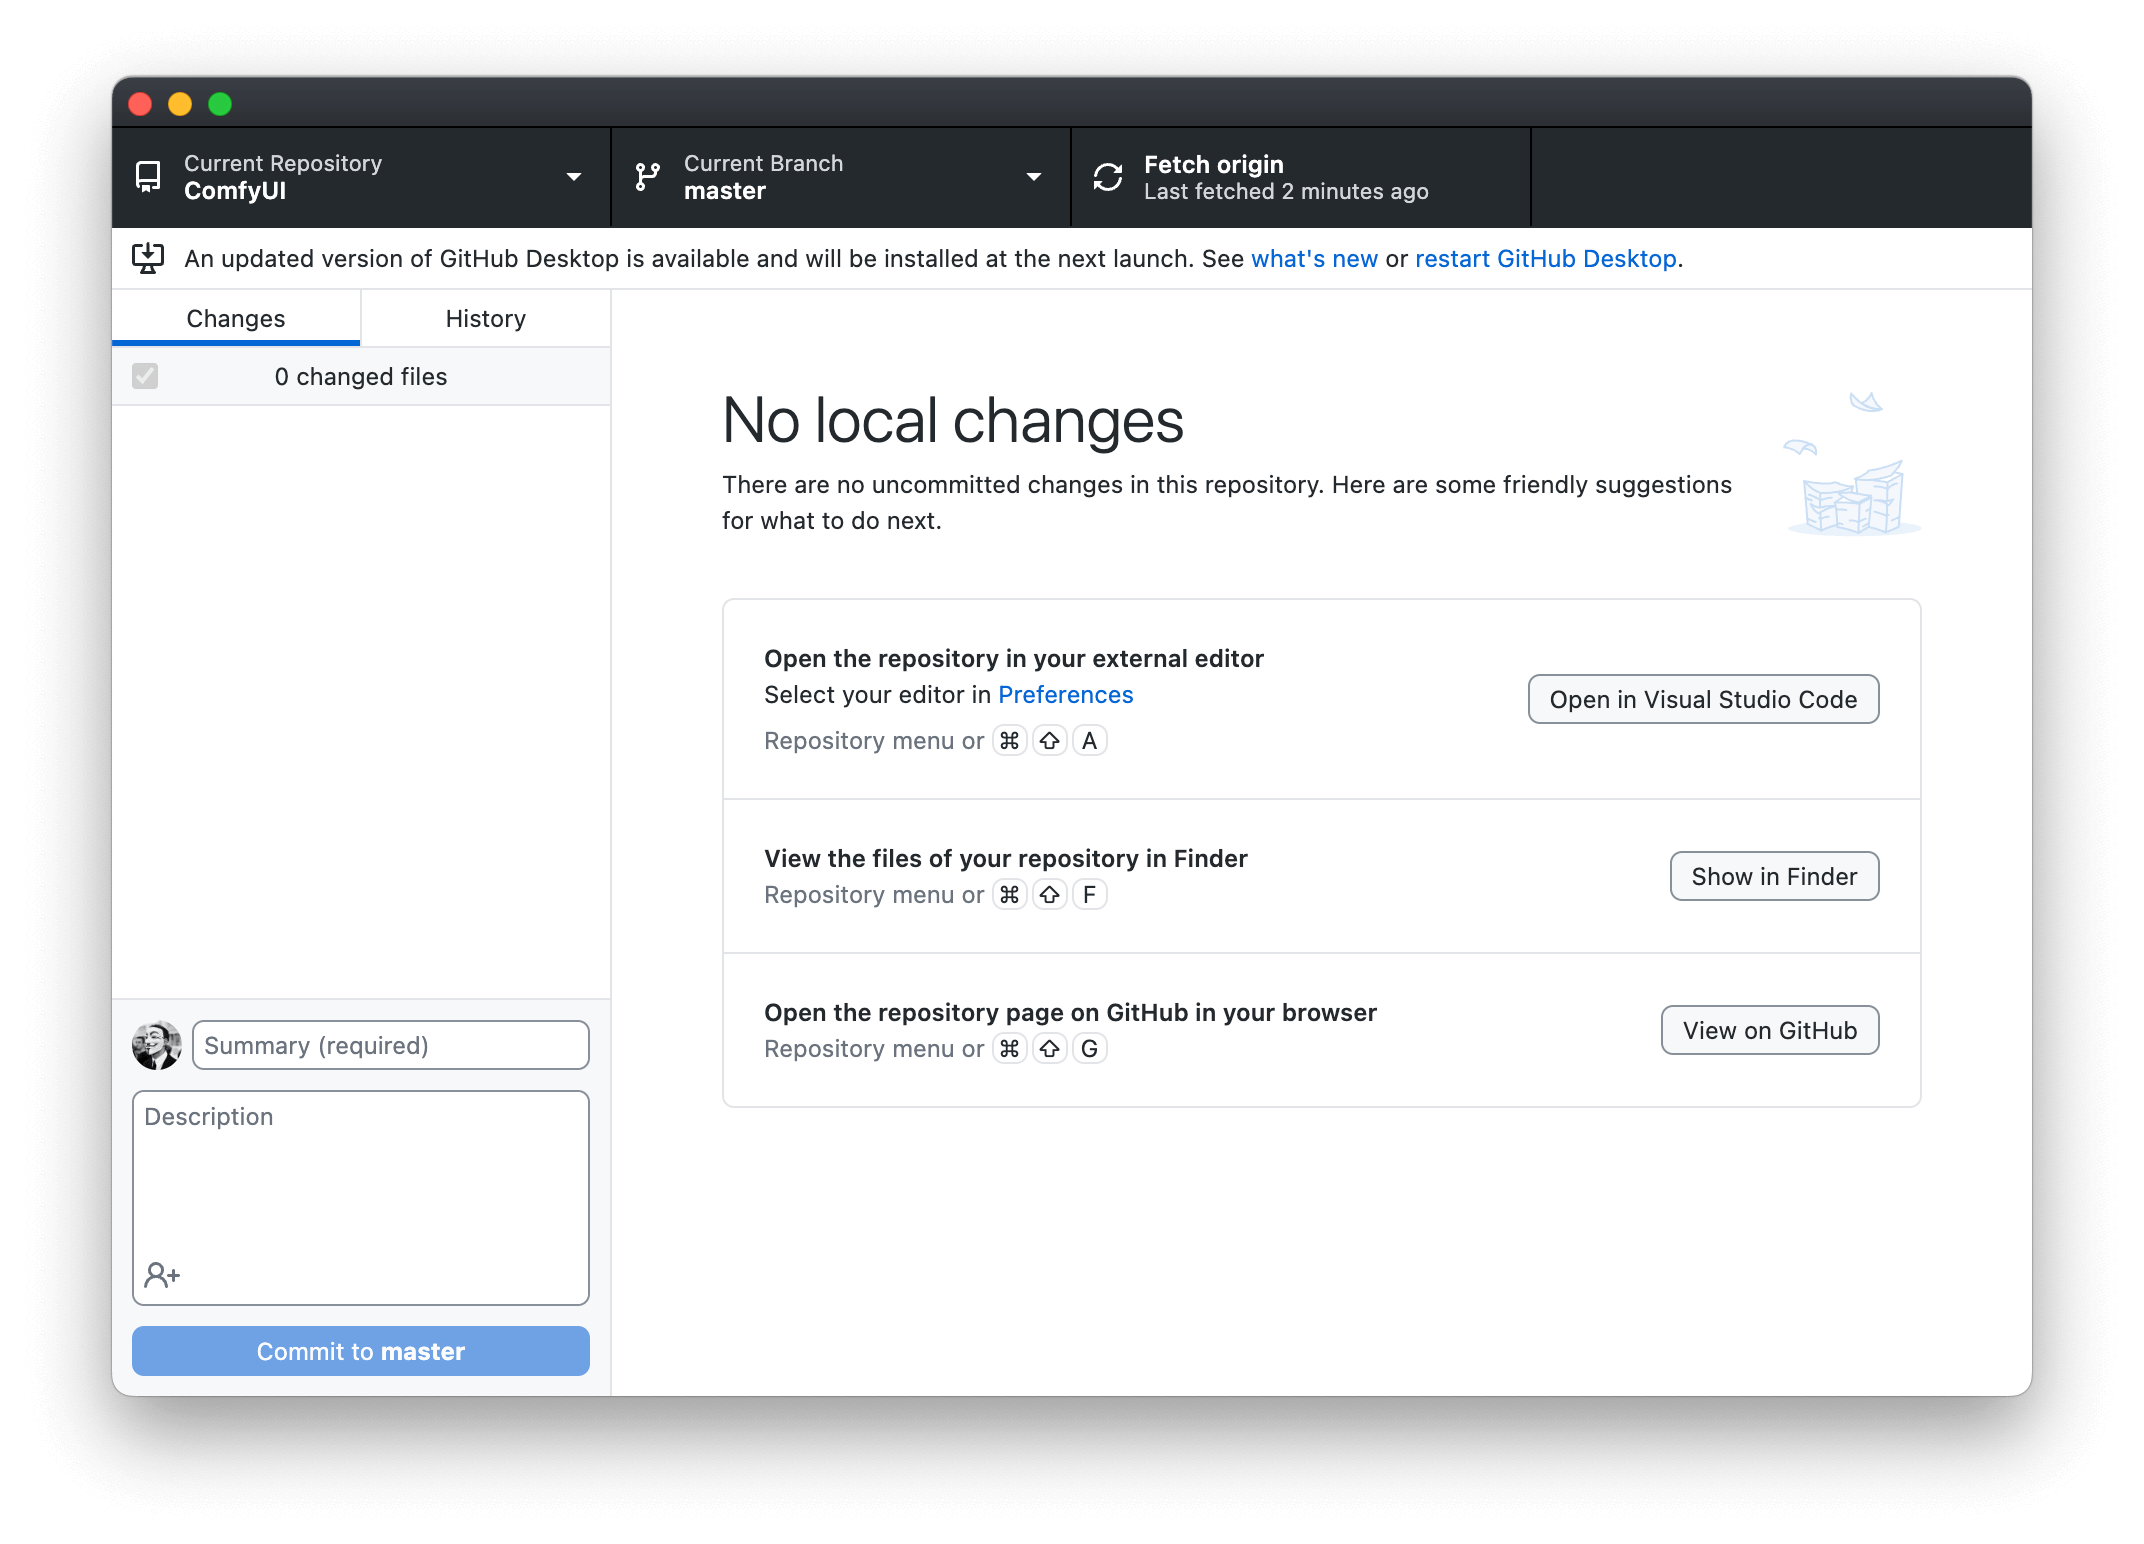
Clone the ComfyUI repository
Then,open the Github page of ComfyUI (opens in a new tab), cick on the green button at the top right (pictured below ①), and click on "Open with GitHub Desktop" within the menu (pictured below ②). At this point, the browser will ask if you want to open GitHub Desktop, click "yes".
Complete the download
Then GitHub Desktop will let you choose a saving location, you can adjust it as needed then click okay. Github Desktop will sync the cloud-based code to your local machine, you will have completed the code sync if you see the interface below.
Step three, install dependencies
You need to install dependencies after downloading the code. There are two ways to install dependencies.
If you have installed Visual Studio Code (opens in a new tab), you only need to:
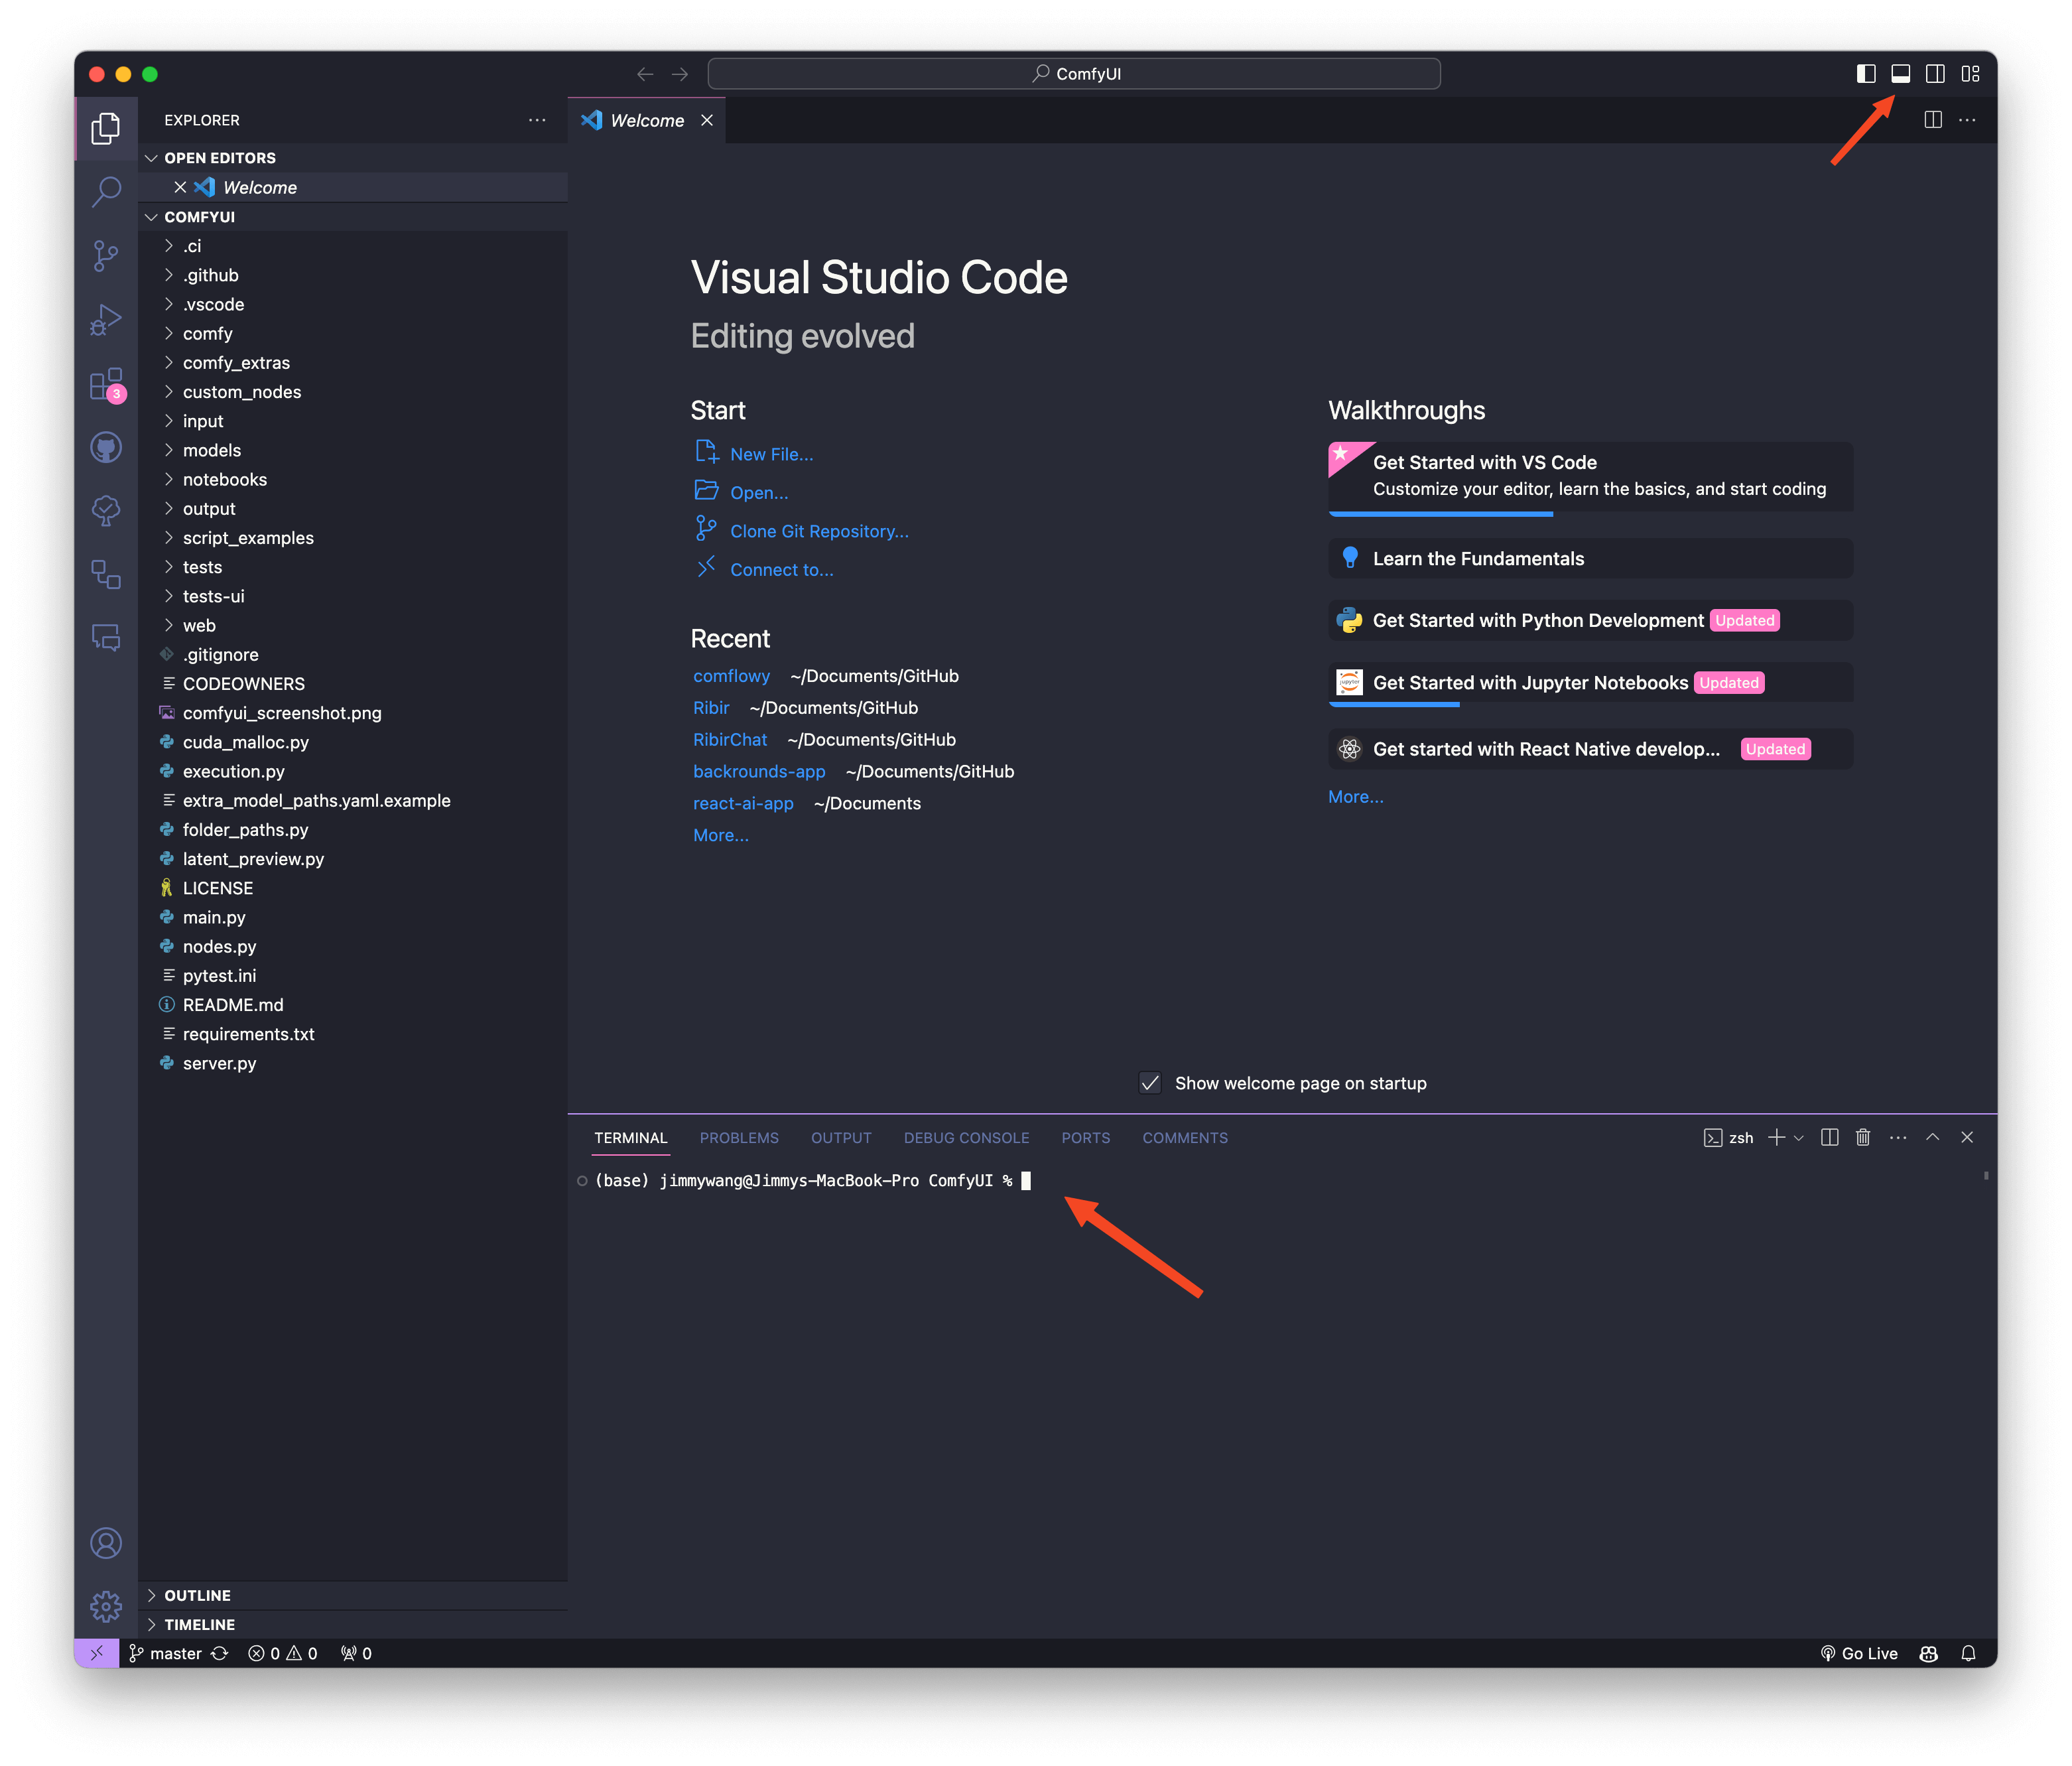
Open the project folder
Click the "Open in Visual Studio Code" button on Github Desktop. VS Code will then open up.
Open VS Code Terminal
Next, you need to tap the second icon at the top right of VS Code, and you will see a command entry interface at the bottom of the software, similar to what you've seen in the Terminal before.
Enter command
For the final step, you need to enter the following command in the Terminal at the bottom and then press the enter key:
# Refer to the Q&A below in case of any network issues.
pip install -r requirements.txtYou may encounter errors with pip installation, in this case, you can try pip3:
pip3 install -r requirements.txtRegardless of which method you use, in the end, you should see "Successfully installed XXXXX." This means you've completed the installation.
Step four, start the service
Whether you ran the command in VS Code or the Terminal in the last step, you can continue to enter the following command:
python main.pyAt this step, if you want ComfyUI to run faster, you can enter the following command:
python main.py --force-fp16Additionally, if you encounter similar errors as in the previous step, you can try using python3:
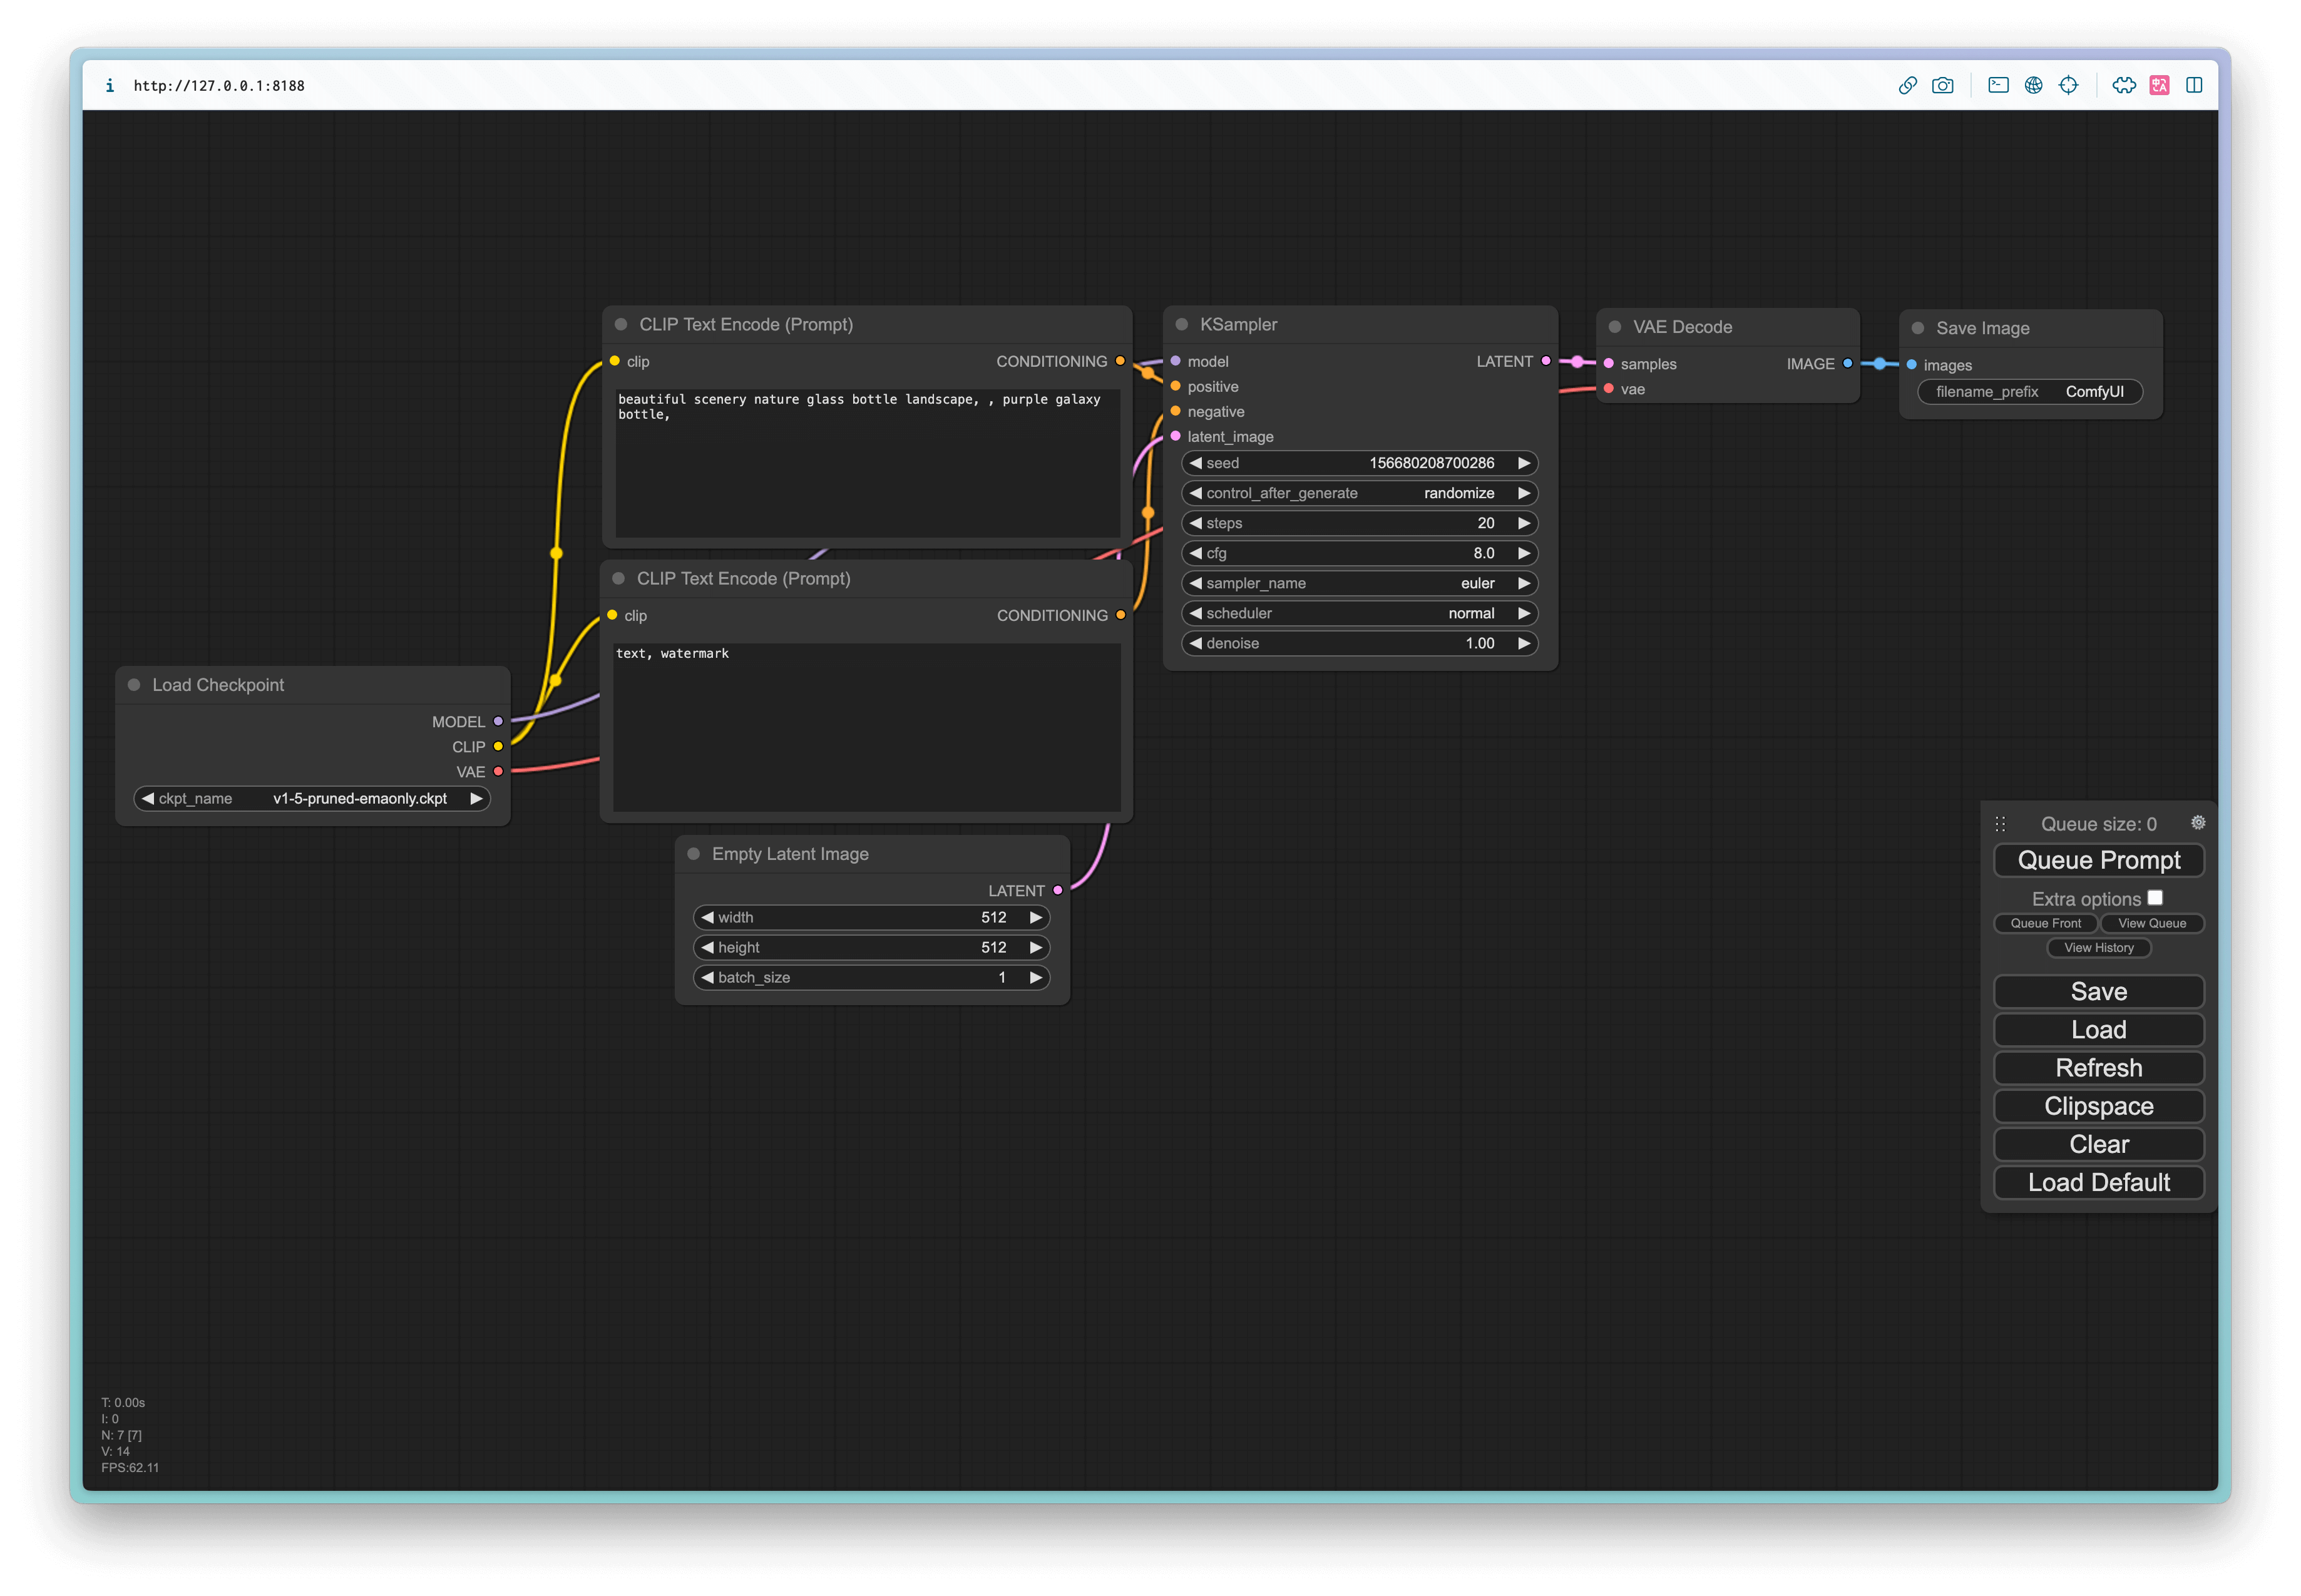
python3 main.pyWhen you see "To see the GUI go to: http://127.0.0.1:8188 (opens in a new tab)", it means you've completed the installation of ComfyUI and successfully ran it. Now all you need to do is copy and paste the address in your browser:
http://127.0.0.1:8188/ You should see the following interface. Congratulations, ComfyUI has been installed successfully. However, you cannot yet run Stable DIffusion for image generation. You'll need to download the crucial model, and in the next chapter, I'll teach you how to download and install the required models.
Q&A
Q: What if I can't download content in the terminal command line?
This is because your network hasn't been set up to bypass the firewall in the terminal. You will need to properly configure the proxy in the terminal.
# The specific ports depend on your own bypass service. It's best to configure this in your default terminal startup options.
export https_proxy=http://127.0.0.1:7890 http_proxy=http://127.0.0.1:7890 all_proxy=socks5://127.0.0.1:7890
Q: How to handle the terminal displaying "ERROR: Could not find a version that satisfies the requirement pyyaml (from versions: none)"?
This question was asked by Discord user Lulu.
This is due to the lack of pyyaml, you can run:
pip install pyyamlAfter the installation is completed, continue installing ComfyUI.